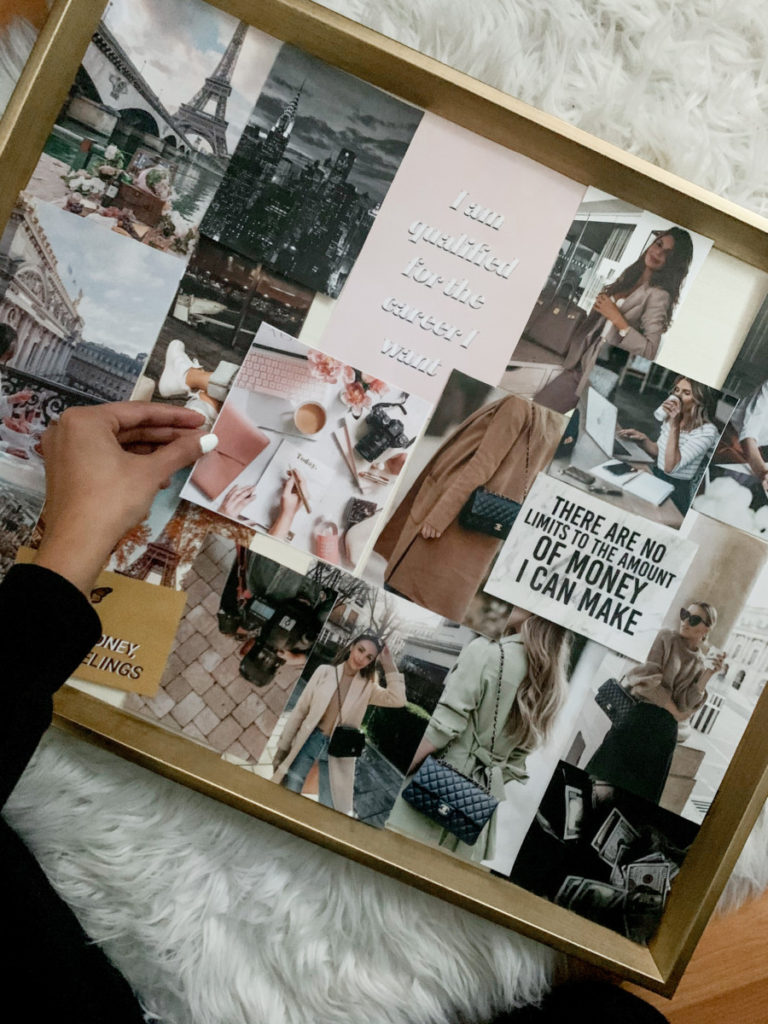
Happy New Years everyone! Here’s to hoping 2021 is just 1% better than 2020. I have done nothing but eat these past few days and I have no regrets. Every year I try to write down my New Year’s Resolutions so that way I can visualize them easier. This year I decided to take it a step further and create the vision board of my dreams.
Step 1: Write down your major categories
So this is kind of a two-for-one type of deal. I like to write down all my resolutions and goals for the year. I also like to create categories for which each goal fits. One example would be “Get a big raise this year” – which would belong to my career goals section. Another example would be a new designer bag which would go under either personal goals or misc or even things you want to buy! Point is to focus on generating a few categories that can be easily visible on the vision board.
Step 2: Find the Pictures
This step is a little time consuming, I’m not even going to lie. It took me like an hour to find a bunch of things off of Pinterest that were aesthetic. You can also grab pictures from magazines and such, but I don’t have any so Pinterest was the best choice! Plus, it is an image search engine so definitely helpful! I tried to pick at least 3-5 pictures per category. You can select more or less based on your board size. I then take all the pictures and put them in a Word Document. I like Word more because I can size the pictures more to my specifications and also save paper when printing, which brings us to step 3.
Step 3: Grab a Cute Board!
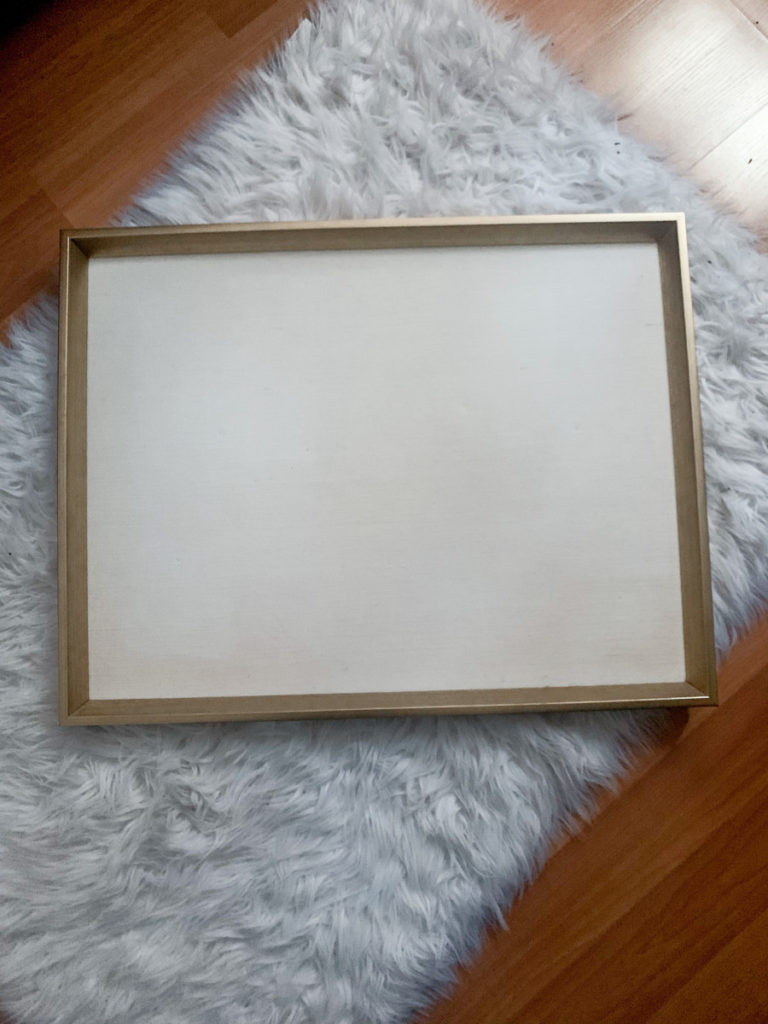
Pretty simple right? I got mine a few years from Amazon and it should still be available! Other places that have super cute or aesthetic boards include Target, Home Goods/TJ Maxx, Walmart, and Paper Source! Whatever your vibe, grab on that will be able to hold all your vibes for the year!

Step 4: Print Pictures
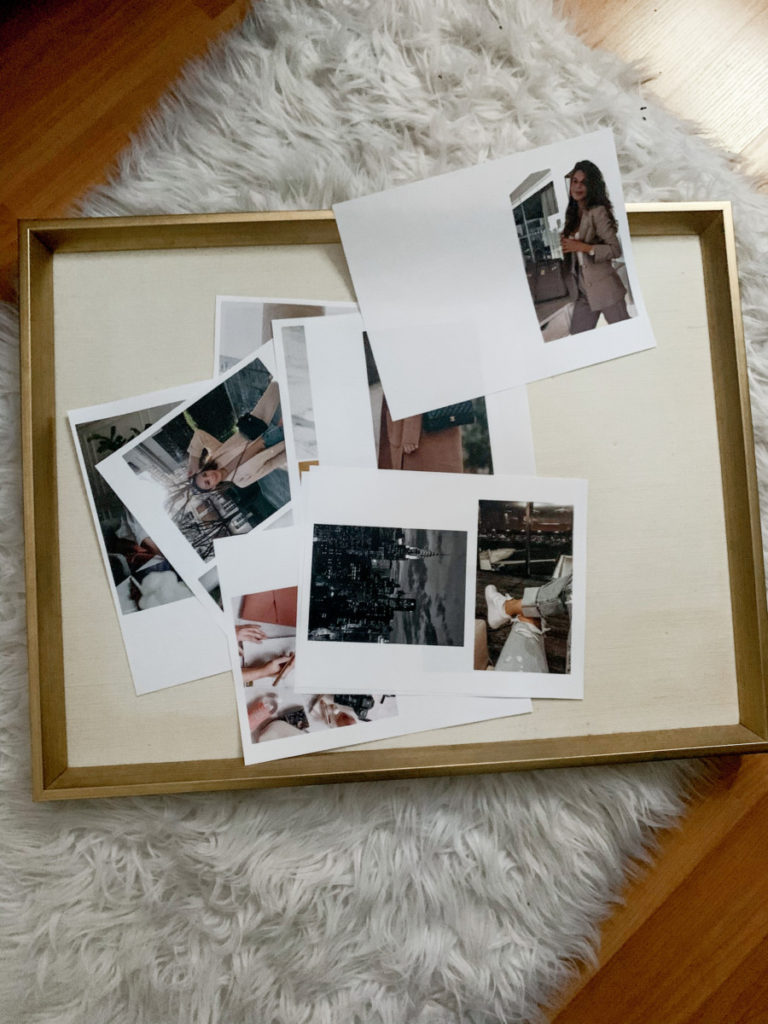
Seemingly easy step, but I found it it’s actually hard with a basic printer. Half of my pictures didn’t come out in the right color so I stopped printing. A more quality controlled way to do so is by sending your pictures to FedEx! So in case you didn’t know, FedEx merged with Kinko’s way back when and allows for printing and other things. I think there is an option to print out a whole collage as is, but I just saved my word doc of pictures and uploaded that. From there, I just stuck with their default settings and the pictures came out so much better and much better paper. And it was only $6!
Step 5: Organizing the Vision Board
This part needs to have a disclaimer from step 2! Size your pictures as accurately as you can! I switched the sizing of some of my pictures when I saw how they came out when I printed them at home. Some of them were still pretty large but I honestly don’t mind it. Easier to see and that is the whole point of a vision board right?! Ok so for the organization part, I cut everything out by hand, but if you have a paper cutter that will definitely help. Once I cut all the pictures, I started placing them how I wanted on the board. I kept it with each category and there was some overlap but I didn’t mind it at all.

Step 6: Finishing Touches
I debated on putting up the actual categories for the pictures and even my resolutions. I decided on just printing them out and putting them in my planner. Depending on how you set yours up, you can put yours on the side or a small corner or right in the middle. I hope for all of us our visions manifest!

